

Which DPS job gives your group the best chance of clearing Dancing Mad Ultimate without turning every pull into a damage-check panic?
That question sounds simple. It is not.
Dancing Mad is an Ultimate raid, so raw damage matters. However, progression also rewards recovery tools, flexible burst, safe movement, and players who can repeat the same mechanic for hours without losing focus.
This FFXIV DPS tier list ranks every damage job for Dancing Mad Ultimate progression and first clears. It does not rank jobs by striking-dummy damage alone. By the end, you will know which jobs stand out, which party combinations make sense, and whether changing jobs would actually help your group.

How This Dancing Mad Ultimate Tier List Works
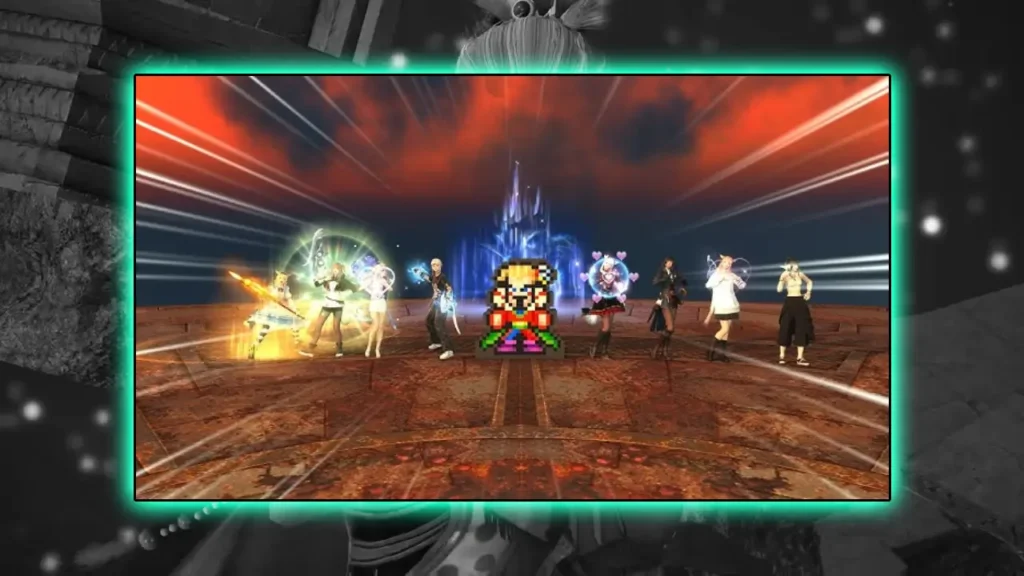
Square Enix added Dancing Mad in Patch 7.51 as the seventh Ultimate raid. It is a level 100 duty for eight players, with a 120-minute instance timer. Every party member must first clear AAC Heavyweight M4 Savage. The group then unlocks the raid through the Wandering Minstrel in Tuliyollal.
Patch 7.5 also changed the PvE balance of several relevant jobs. Reaper, Viper, Samurai, and Summoner received damage increases shortly before the Ultimate arrived. Later Patch 7.55 notes did not introduce another general PvE DPS rebalance, so those Patch 7.5 changes remain important when judging the current encounter.
I used four factors for this ranking:
| Factor | Why It Matters in Dancing Mad |
|---|---|
| Progression damage | A job must meet checks before the group reaches perfect execution |
| Burst flexibility | Ultimate phase changes can interrupt normal two-minute rotations |
| Recovery value | A resurrection or defensive tool may save a learning pull |
| Mechanical comfort | Easy movement and stable uptime reduce avoidable mistakes |
This is not a speed-kill ranking. It is also not a reason to remove a good player from your static.
A strong Black Mage will help more than a weak Red Mage. A Reaper who dies during every burst window is not an S-tier player just because the job appears in S tier.
Dancing Mad Ultimate DPS Tier List
| Tier | DPS Jobs | General Verdict |
|---|---|---|
| S Tier | Reaper, Red Mage | The strongest mix of damage, flexibility, and progression value |
| A Tier | Ninja, Dragoon, Monk, Pictomancer, Bard, Dancer, Machinist, Summoner | Strong picks with useful advantages and manageable weaknesses |
| B Tier | Samurai, Viper, Black Mage | Fully viable, but more dependent on clean execution or party support |
There is no C or D tier here. Every standard DPS job can clear the encounter.
The difference between S and B is not “good versus bad.” It is how much extra value a job gives while the party is still learning.
S Tier DPS Jobs
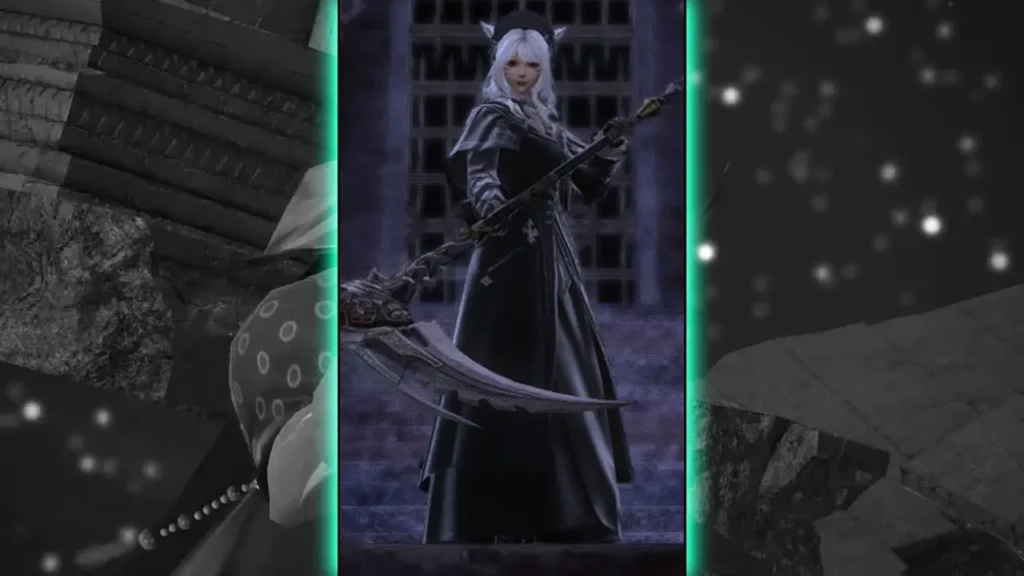
Reaper is the safest melee recommendation for Dancing Mad Ultimate.
Patch 7.5 increased Gluttony from 520 to 560 potency. It also raised the level 100 potency bonuses for Void Reaping, Cross Reaping, and their enhanced versions. Those were direct improvements to skills that sit inside Reaper’s important damage windows.
Damage alone is only part of the story. Reaper can hold resources around phase endings and enter a new targetable section with gauge ready. That flexibility feels much better than forcing every phase into a perfect training-dummy timeline.
Arcane Crest also gives Reaper a small defensive option. It will not replace planned mitigation, but Ultimate progression often comes down to small margins.
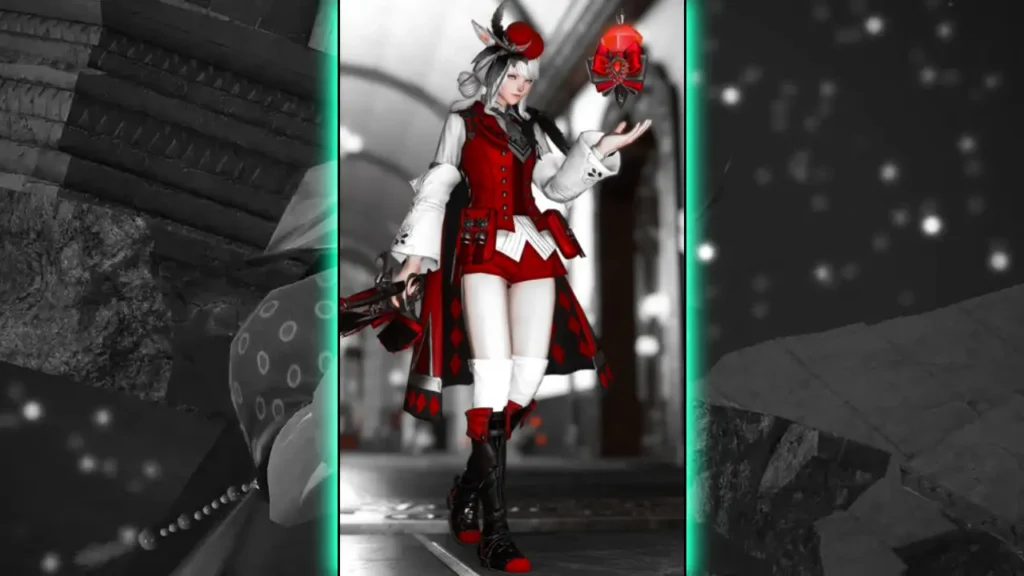
Red Mage earns S tier for a different reason.
Verraise lets Red Mage recover pulls that would otherwise end immediately. Dualcast makes that recovery faster, while Magick Barrier provides party defense. Red Mage also keeps useful movement options through its instant casts and melee combo.
During early Dancing Mad discussion, players repeatedly highlighted Red Mage as the practical caster for progression. They also noted that Pictomancer’s old downtime advantage was less dominant in this encounter because many sections allow sustained target access. That community view is not an official balance statement, but it matches the needs of a first-clear group.
There is one catch. A resurrection does not automatically save every pull. Some Ultimate mechanics need all eight players alive and correctly positioned. Still, Red Mage helps the group see more mechanics per session. That has real value.
A Tier and B Tier DPS Jobs
The A-tier jobs are all easy to justify in a serious static.
Ninja brings strong raid-buff alignment and flexible ranged attacks through ninjutsu. Dragoon offers reliable damage and party synergy, while Monk adds Mantra for difficult healing sections. These jobs fit coordinated compositions without demanding that the entire party play around them.
Pictomancer remains a powerful caster. Its burst and personal damage make it attractive once the group reaches consistent pulls. However, it cannot raise fallen players. The job also needs careful planning around painting and movement, so I place it just below Red Mage for progression.
All three physical ranged jobs sit in A tier, although they solve different problems.
| Job | Main Strength | Main Limitation |
|---|---|---|
| Bard | Party buffs and sustained support | Performance depends partly on group contribution |
| Dancer | Strong partner support and useful defensive tools | Best results require a reliable Dance Partner |
| Machinist | Stable personal damage and simple target access | Offers less offensive party support |
Physical ranged jobs can attack while handling distant positions. That sounds basic, but it removes friction during mechanics that force casters to move or melee players away from the boss.
Summoner also belongs in A tier. Patch 7.5 increased Painflare from 150 to 220 potency and buffed Ruby Rite, Crimson Cyclone, Crimson Strike, and Necrotize.
Summoner combines movement freedom with Resurrection. Its main weakness is that Red Mage usually handles repeated emergency raises more smoothly. Even so, Summoner is a sensible choice for groups that value a stable rotation.
The B-tier jobs can produce excellent results. They simply bring fewer progression advantages.
Samurai delivers high personal damage, but it does not provide a raid damage buff or combat resurrection. Viper received meaningful Patch 7.5 buffs to Vicewinder and its Coil attacks, yet it still competes for a melee slot against Reaper’s more useful progression package.
Black Mage has a high damage ceiling. It also demands detailed movement planning. A player who understands every safe casting position can make the job look incredible. During fresh progression, however, frequent adjustments can cut into that advantage.
Best DPS Jobs by Role
Here is the simpler version for groups that do not want to debate every job.
| Role | Best Progression Pick | Strong Alternative | Best for Experienced Specialists |
|---|---|---|---|
| Melee DPS | Reaper | Ninja or Monk | Samurai or Viper |
| Physical Ranged | Bard | Dancer or Machinist | Any of the three |
| Magical Ranged | Red Mage | Pictomancer or Summoner | Black Mage |
For a balanced first-clear composition, I would start with Reaper, Ninja, Bard, and Red Mage.
That setup gives the group two melee jobs, one physical ranged job, and one caster. It also provides a combat resurrection, raid buffs, flexible movement, and strong burst.
Still, there is no magic composition that fixes weak execution. Dancing Mad uses mechanics across several distinct phases, including Kefka, Forsaken, Chaos and Exdeath, Kefka Says, and Ultimate Kefka. Community strategy resources also warn that mitigation plans should act as starting points rather than rigid rules, since each party must assign its own cooldowns.
Why Consistency Beats a Perfect Parse
The biggest mistake I see in Ultimate preparation is choosing a job from a tier list two days before progression begins.
That usually hurts more than it helps.
A player who changes from Samurai to Reaper may gain a stronger progression kit. Yet they may also lose track of gauge, positionals, mitigation, and movement. The theoretical upgrade disappears after one death.
Use this quick test before switching:
| Question | Stay on Your Current Job If… | Consider Switching If… |
|---|---|---|
| Can you perform your rotation while learning? | You rarely look at your hotbars | Mechanics constantly break your rotation |
| Can you recover after downtime? | You know several restart points | Every phase transition causes drift |
| Does the group need more utility? | Recovery is already stable | Raises or party defense would extend pulls |
| Are damage checks the real problem? | The party still has deaths or Damage Downs | Clean pulls repeatedly reach enrage |
Damage Down effects are especially punishing in Ultimate content. More damage on paper will not compensate for repeatedly failing mechanics.
For that reason, groups should review deaths before reviewing job balance. Fix missed mitigation, bad positioning, and lost uptime first. Only then ask whether the composition needs more damage.
Players who want the clear and rewards but cannot maintain a stable eight-person schedule can also review a structured Dancing Mad Ultimate completion. That option makes more sense when time and group availability are the real barriers, rather than job choice.
How Dancing Mad Compares With Other Ultimates
Dancing Mad should not be your first experience with coordinated high-end raiding. The official unlock already requires the final AAC Heavyweight Savage clear, but one Savage boss does not teach every Ultimate habit.
Previous raids can help you train different skills.
Futures Rewritten Ultimate tests modern level 100 job execution and long-form consistency. The Omega Protocol remains useful for learning strict assignments and phase-by-phase planning. Meanwhile, Dragonsong’s Reprise teaches patience, recovery discipline, and precise movement across a long encounter.
Players targeting several prestige clears can compare them through the FFXIV Ultimate bundle, rather than treating each raid as an unrelated project.
The important point is not to memorize five fights at once. It is to build habits that transfer:
Keep burst aligned. Use mitigation when assigned. Call mistakes quickly. Do not hide deaths. And stop changing strategies after every bad pull.

Conclusion
The best DPS jobs for Dancing Mad Ultimate progression are Reaper and Red Mage.
Reaper offers strong damage, useful resource control, and a forgiving Ultimate profile. Red Mage gives the party movement, defensive utility, and one of the best recovery tools available to a DPS.
Ninja, Dragoon, Monk, Pictomancer, Bard, Dancer, Machinist, and Summoner remain strong choices. Samurai, Viper, and Black Mage can also clear without issue when played by experienced players.
So, should you reroll for the meta?
Usually, no.
Choose a job you can play during stressful mechanics, not just one you can parse well on in an easy fight. Dancing Mad rewards eight people who stay calm, follow the same plan, and keep pressing their buttons after the pull stops feeling comfortable. That matters far more than moving one letter higher on a tier list.